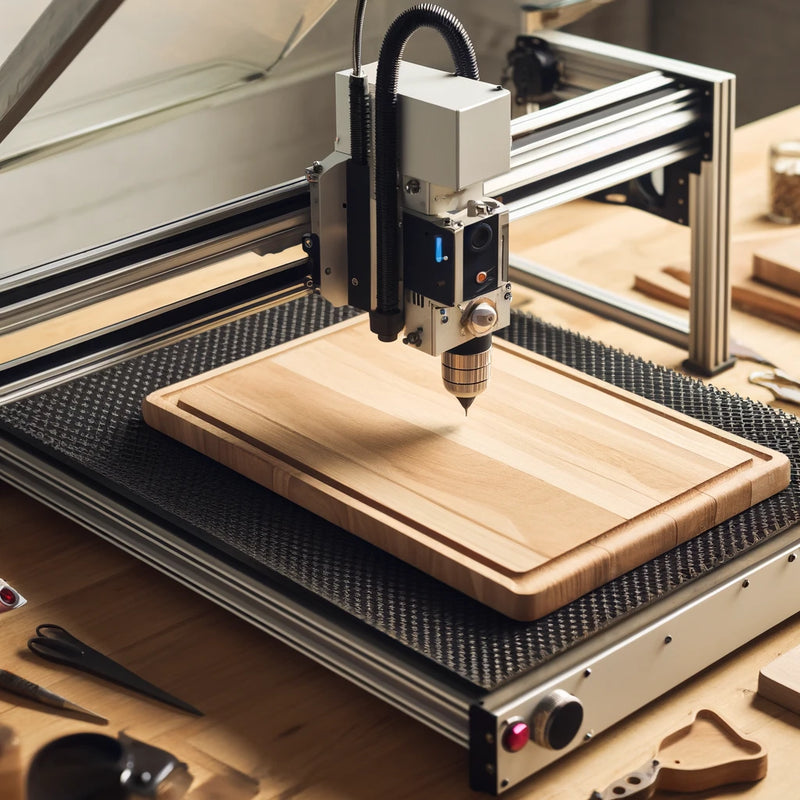
In a world where creativity meets technology, few things are as captivating as the art of laser engraving. Imagine a beam of light that can cut through wood, metal, or acrylic with the precision of a surgeon’s scalpel, etching intricate designs that transform ordinary objects into personalized masterpieces. At the heart of this precise art lies a file format as unassuming as it is powerful: the SVG file. Whether you’re a seasoned engraver or a curious beginner, understanding how to use SVG files for laser engraving can open up a world of possibilities, turning your artistic visions into reality with unmatched accuracy.
What Are SVG Files?
SVG, or Scalable Vector Graphics, is a file format that stores images using mathematical formulas rather than pixels. Unlike JPEGs or PNGs, which can become blurry or pixelated when resized, SVG files maintain their crispness and clarity at any scale. This makes them an ideal choice for laser engraving, where precision is paramount. SVG files store lines, curves, shapes, and text in a way that can be infinitely scaled without losing detail, ensuring that your laser engraver can reproduce your designs exactly as intended.
Why Use SVG Files for Laser Engraving?
The secret to SVG files’ effectiveness lies in their ability to communicate directly with laser engraving machines. Here’s why they’re the preferred choice for engravers around the globe:
-
Scalability: As the name suggests, SVG files can be scaled up or down without losing quality. Whether you’re engraving a delicate monogram on a ring or a large logo on a wooden sign, the design remains sharp and clear.
-
Precision: Laser engraving demands precision, and SVG files deliver just that. The vector-based nature of SVG files allows for intricate details and clean lines, making them perfect for designs that require fine craftsmanship.
-
Compatibility: Most laser engraving software readily accepts SVG files, making them a versatile option for different types of projects. Whether you’re using a CO2 laser, fiber laser, or diode laser, chances are your machine can handle SVG files with ease.
-
Editability: SVG files are easily editable, allowing you to tweak designs, adjust sizes, or change elements without starting from scratch. This flexibility is invaluable for custom projects where client feedback may require last-minute changes.
How to Create SVG Files for Laser Engraving
Creating SVG files is not as daunting as it might sound, especially with a few basic tools and tips. Here’s a step-by-step guide to help you get started:
-
Choose Your Design Software: To create SVG files, you’ll need a vector graphic design software. Popular choices include Adobe Illustrator, CorelDRAW, and Inkscape (a free, open-source option). These programs allow you to create and save designs directly as SVG files.
-
Design with Precision in Mind: When creating designs for laser engraving, think about the details. Keep lines clear and avoid overly complex patterns that might be difficult for the laser to cut or engrave. Use the software’s grid and snap-to features to ensure elements are aligned perfectly.
-
Use Layers and Groups: Organizing your design into layers or groups can make it easier to manage and edit. For example, separate text elements from graphic elements or organize different parts of a complex design into individual layers.
-
Convert Text to Outlines: If your design includes text, convert the text to outlines (also known as “paths” or “curves”). This step ensures that your text will appear correctly, even if the font isn’t installed on the computer used for engraving.
-
Export as SVG: Once your design is ready, export or save it as an SVG file. Check the export settings to ensure that the resolution and dimensions match your project’s requirements. Most design software will have options to adjust these settings during the export process.
Using SVG Files with Your Laser Engraver
Now that you’ve created your SVG file, it’s time to bring your design to life with your laser engraver. Here’s a general outline of the process:
-
Import the SVG File: Open your laser engraving software and import the SVG file. Most software will allow you to import SVG files directly, though you may need to adjust the import settings to ensure the file is interpreted correctly.
-
Adjust Laser Settings: Depending on the material you’re engraving, you’ll need to adjust the laser’s power, speed, and frequency. These settings will vary based on the material’s thickness and hardness, as well as the intricacy of the design.
-
Position Your Material: Place the material you’re engraving into the laser engraver, ensuring it is positioned correctly according to your design’s layout. Use the software’s preview function to see how the design will fit on the material.
-
Run a Test Engraving: Before starting the full engraving, run a test on a scrap piece of the same material. This test will help you fine-tune the laser settings and ensure that the design engraves correctly.
-
Engrave Your Design: Once everything is set, start the engraving process. Watch as the laser moves over the material, turning your SVG design into a tangible creation.
Conclusion
Using SVG files for laser engraving is a surefire way to achieve precision, scalability, and quality in your projects. These files offer a level of detail and control that is essential for both intricate designs and large-scale engravings. Whether you’re crafting personalized gifts, creating business signage, or embarking on artistic ventures, mastering the use of SVG files will enhance your laser engraving endeavors, allowing you to bring your most imaginative ideas to life with the precision of a craftsman and the creativity of an artist.
Embrace the power of SVG files, and watch as your laser engraver transforms into a tool of precision and artistry, turning everyday materials into extraordinary works of art.


